How to install Netgear A6100 USB Wifi-adapter on Ubuntu 16.04
The Netgear A6100 USB Wifi-adapter doesn’t work by default on Linux. You have quite a lot of resources about how to install it. I add just one more article on that subject for those on Ubuntu 16.04 who are not sure if it still works, short answer, yes, everything works fine! While the installation process can seem quite threatening for those who have never seen modprobe used, or who never compiled from source, it is simple and works well.

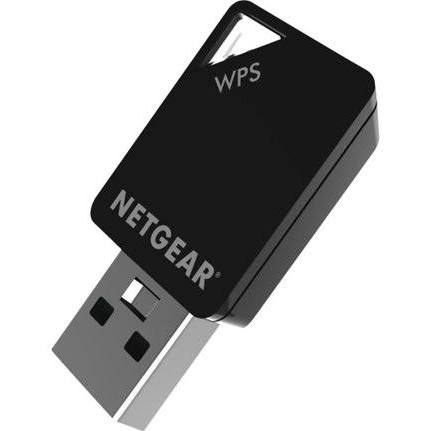
I shamelessly stole those pictures from that article on the same topic http://www.seanbreeden.com/netgear-a6100-wifi-usb-mini-adapter-install-for-ubuntu-lubuntu/.
The driver for this Wifi adapter has the barbaric name Realtek 8812AU, or more shortly rtl8812AU or just 8812au.
1. Find a way to get the code on your computer
As you most likely don’t have a Wifi connection on this computer, you can either use an Ethernet cable to download the code, or use a USB key to transfer it from another computer or OS where you have internet access.
I used rtl8812AU-driver-4.3.14 which seems to be working fine.
You can either download it from the Web interface https://github.com/diederikdehaas/rtl8812AU Clone or download > Download ZIP.
Or you can download it from the terminal with git clone https://github.com/diederikdehaas/rtl8812AU.git.
2. Install some basic requirements (just in case)
On my computer it was already installed, but in some tutorials they advise you to check that linux-headers and build-essentials are installed. gcc-5 is the default C compiler on Ubuntu 16.04, so it should also already be installed.
sudo apt-get install linux-headers-$(uname -r) build-essential gcc-5
3. Compile and install the driver
Unzip the file. Then in the terminal, move to the code folder with cd. Then build the binary using make. Then install using make install. Then add the module to your kernel using modprobe. Then add 8812au to the end of the file /etc/modules with tee -a to tell the OS to load the driver when it boots (I am not sure this is mandatory, but do it anyway, it cannot be bad!).
cd rtl8812AU-driver-4.3.14
make CC=/usr/bin/gcc-5
sudo make install
sudo modprobe 8812au
echo 8812au | sudo tee -a /etc/modules
That’s it, it seems freightening if you never did it before, but no, there shoudn’t be any issue.
The usual Wifi icon should appear on the top-right corner of your screen. You can add and edit your Wifi password in Edit Connections... if necessary.
Bonus: Keep the files in case of kernel update
After a Ubuntu kernel update, the driver was deleted. I rerun the previous steps and it went back (the Wifi parameters were still in memory).
So keep the code on your computer just in case! And create a text file with the commands to run, to be able to copy/paste it easily offline. By then, you will most likely have forgotten!
Linux wouldn’t be Linux if it was easy!
Bonus 2017: If you want a test of 2017 Wifi-adapters, look here
This article is getting old, if you are looking to buy a more up to date Wifi-adapter, here is a test: http://www.2kreviews.com/best-usb-wifi-adapter/
That being said, the drivers may be different, maybe it will be managed by default, maybe not. You never know what you will get, that’s part of the magic of Linux!